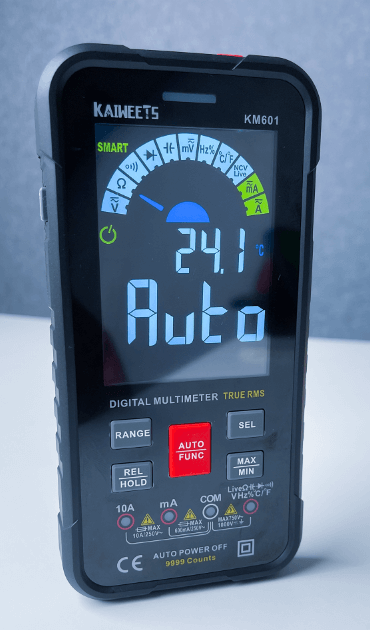
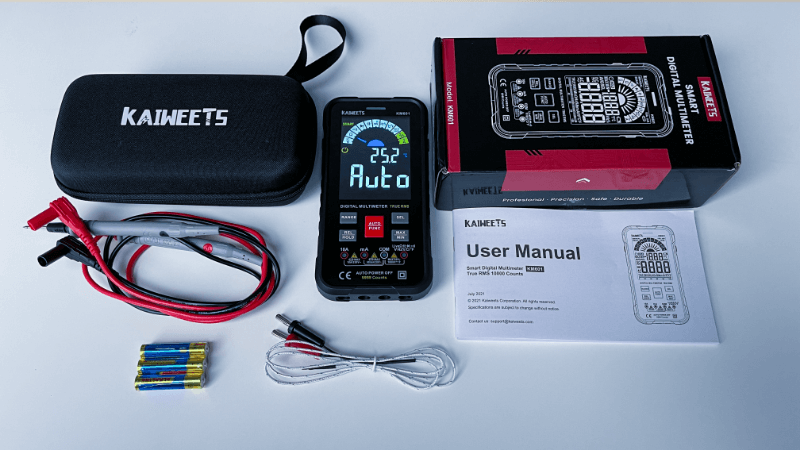
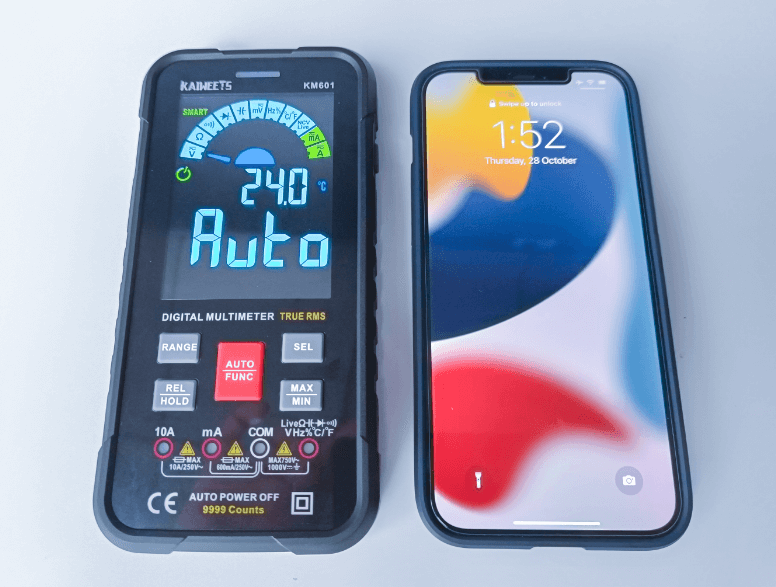
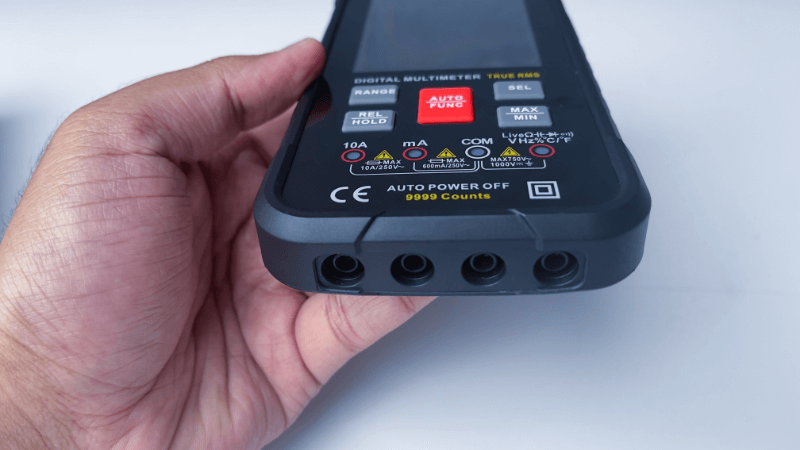
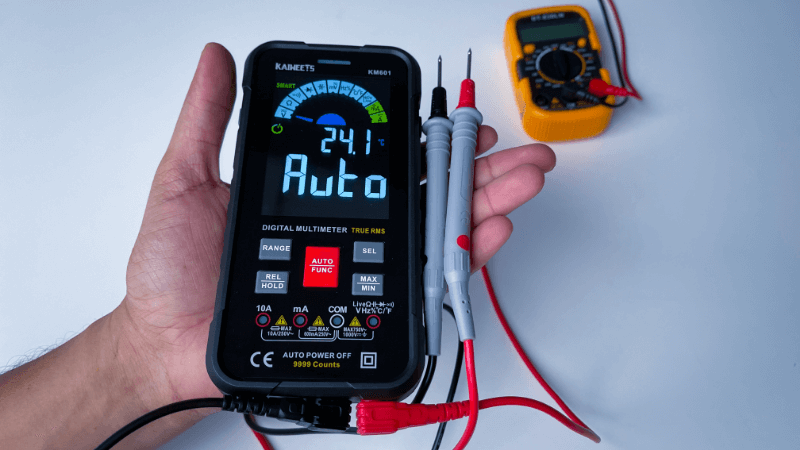
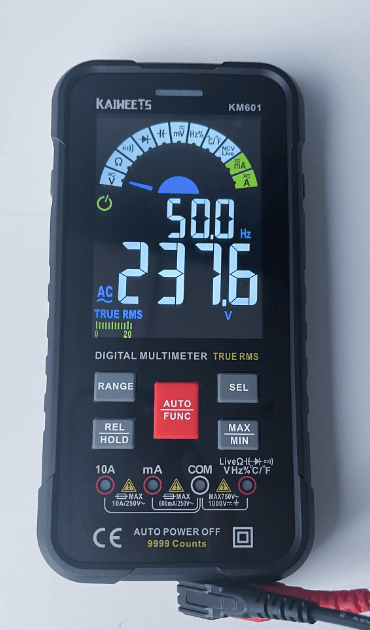
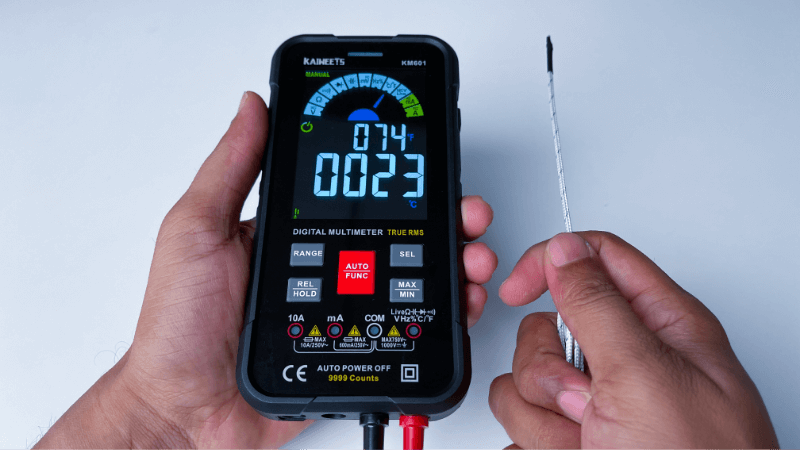
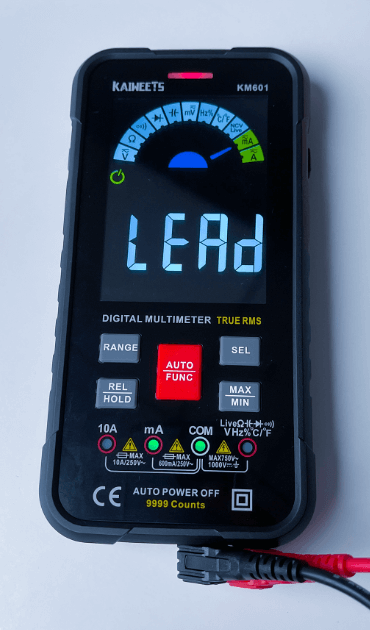
This is the review of the KAIWEETS KM601 Smart Digital Multimeter. We are writing this review after properly testing the multimeter for all its basic functionalities. Continue reading to find out more. What Do We Get? Let us quickly take a look at the contents of the package. The first thing is the KAIWEETS KM601 Smart Digital Multimeter itself. It is attached with a silicone cover, which is really sturdy. Next, we have couple of test leads (probes). The probes have covers at the tips as well as the connectors. There are 3 AAA batteries in the package. There is a K-type Thermocouple in the package, which can be used to measure temperature of an object. Then there is the detailed user manual, which is in English (and it is really well written covering all the basic functions). Finally, there is a carry bag with a net on the left side to hold the probes and thermocouple and an elastic strap on the right to hold the multimeter. Then, we have the main reading section for displaying the quantity being measured. The number and text here are large and the data is clearly visible. At the bottom of the display, there is a bar graph to simulate an analog meter. Just below the buttons, there are four LEDs corresponding to four ports i.e., main red probe port (voltage, resistance, capacitance, etc.), COM port, mA port and 10A Port. These LED will blink 5 times indicating which ports to use for a particular function. This is a nice little feature especially if you are a beginner and worried about damaging your meter. Then at the bottom side of the multimeter, we have the four jacks / ports for plugging in the probes.They are standard jacks and can fit any professional / third party probes, if you are interested. The button on the right activates or deactivates auto power off feature. If this is enabled (indicated by a power symbol on the LCD), the meter shuts down automatically after 15 minutes of no usage. The moment you insert the batteries (assuming correctly), the meter automatically turns on. Place the battery cover and screw it. Also, apply the silicone cover to the multimeter as it will protect the meter against scratches. As the meter is already turned on, the LCD displays ‘Auto’ in the center and ‘SMART’ on the top left corner and the needle toggles between Voltage, Resistance and Continuity modes. All you have to do is insert / connect the probes to the test points and the meter automatically select the appropriate function and display the measured value. We tested with AC mains voltage, couple of batteries (18650 and AAA NiMH), a bunch of resistors and also continuity. The meter correctly detects the quantity being measured and displayed the result on the screen. Unlike traditional auto-ranging meters, which have a rotary switch to select the function, the KAIWEETS KM601 Multimeter has buttons to do the selection and other stuff as well. There are 5 buttons dedicated for user interface. The buttons are labeled as follows: AUTO / FUNC, RANGE, REL / HOLD, SEL, MAX / MIN. The names of the buttons are pretty self-explanatory. When powered ON, the meter is in Smart mode. In this mode, if you press the ‘AUTO / FUNC’ button, you will enter into manual mode and you will be able to select the appropriate function by clicking the ‘AUTO / FUNC’ button. In manual mode, you can set the range manually if you want using the ‘RANGE’ button. The ‘REL / HOLD’ button will hold the current value on the screen until you press it once again. Some functions have dual modes. For example, voltage measurement has AC as well as DC voltage measurement. So, after entering manual mode and select the right function, you can select the sub-function using the ‘SEL’ button. Measuring voltage, current (we tested only milliamps), resistance, capacitance, diode drop out is a breeze to this meter. We are extremely satisfied with the performance. There is a minor lag when measuring stuff but we can allow it considering its price and performance. If the thermocouple is not attached to any object, it will measure the ambient temperature. Coming to frequency and duty cycle, it can measure frequencies up to 10MHz, which is great. Also, if you are measuring AC voltage, it displays the frequency of the AC signal. For live wire detection, remove the black probe and keep only the red probe connected to regular jack (which is also marked Live). Then select the ‘LIVE’ function by pressing ‘SEL’ when the function is ‘NCV’. Now insert / touch the red probe to the test point. Again, depending on the intensity of the signal, the buzzer’s beeping intensity will change and also the indicator LED change colors. Another useful feature of the meter is indication of correct probes based on the selected function. For example, if you are in ‘Smart’ feature, you can only measure AC / DC Voltage, Resistance and Continuity. So, the LEDs corresponding to Voltage measurement and COM port will blink 5 times. If you are measuring current, the meter again blinks the appropriate LEDs and if the red probe is not inserted into the current measuring jack (mA or 10A, depending on the selected function), the indicator LED will light up in red in color and the LCD display ‘leads’ message indicating that probes are not inserted correctly or entirely. This is a nice little feature, which is very useful for beginners. Both the current measurements are protected with respective fuses (600mA and 10A). But the thing we didn’t like is that in order to access these fuses, you have to completely remove the back cover (not only the battery cover but also additional back cover).
![]()
![]()


![]()
![]()

