But their durability does not mean they are invulnerable to damage. They get corroded due to high water pressure and chloramines present in the water system. Hence, it becomes important to know how to solder the copper pipes. Soldering a copper pipe is just like soldering any two metals. The main thing is to choose the right kind of flux and solder. Besides, you need to know how to prepare the pipe and the fitting before you solder them together. The following article explains the process of soldering copper pipes and the necessary materials required.
Step by Step Process of Soldering Copper Pipes
Below is the step by step process on how you should correctly solder copper pipes.
Step 1: Assemble all Necessary Equipment
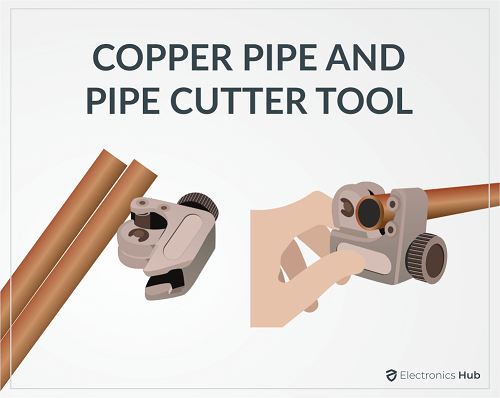
Take the copper pipes, copper fittings, and a cutter tool.
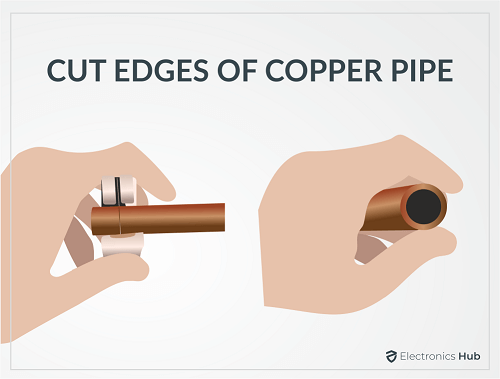
Step 2: Prepare the Copper Pipe
Cut the edges of the copper pipe with the cutting tool.
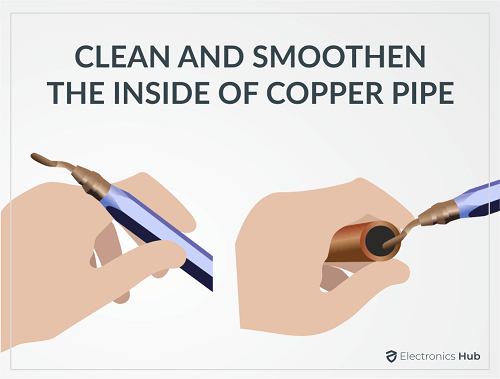
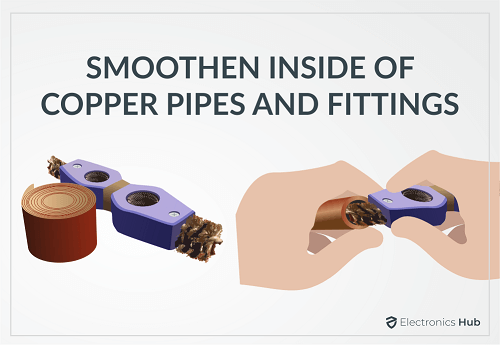
Step 3: Clean and Smoothen the Inside of Fitting
Using a deburring tool, smoothen the inner surface of all the copper pipes and copper fittings.
Step 4: Clean Copper Pipe with a Metal Brush
Using a wire brush, you have to clean the inner surface of each fitting. Ensure that you remove dust and other debris from the internal surface of the fittings. Also, smoothen the rough edges of the fittings using a pair of pliers.
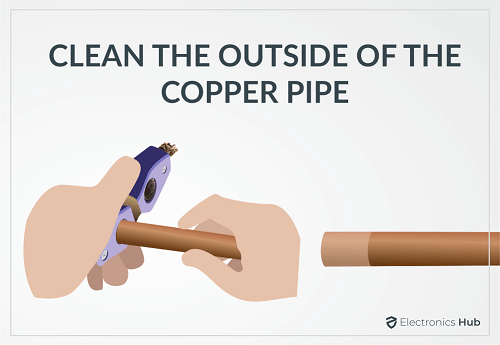
Step 5: Clean Outer Surface of Pipe
Similarly, clean the outer surface of the pipe. You can use either emery cloth or steel wool for this purpose.
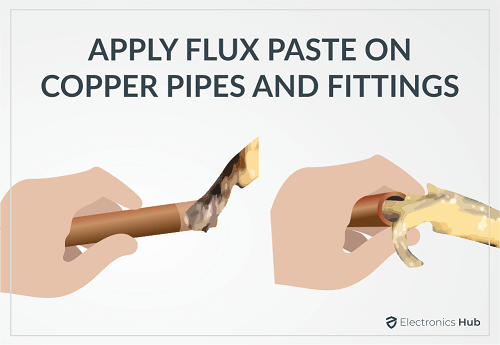
Step 6: Paste Flux on Pipe
Once you have cleaned the pipe, apply flux to the pipe end using a flux brush. You can use lead-free soldering paste as the flux. You should apply the flux to cover 1 inch of the pipe. Now, insert the pipe into the fitting. The pipe should hold firmly within the inner surface of the fitting. Then, spread the flux by twisting the pipe.
Step 7: Take Solder Wire and Bend It
Extend wire up to 10 inches from the spool. Now, you have to bend the first two inches of the wire at an angle of 90 degrees.
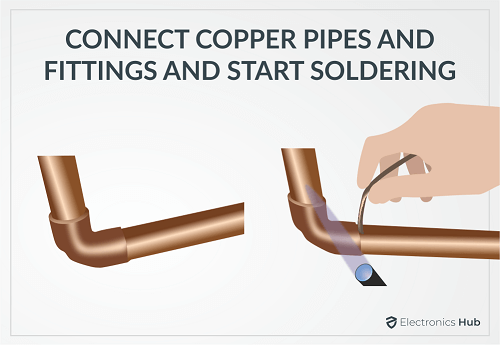
Step 8: Heat using a Torch
Heat the middle part of the fitting for 4 to 5 seconds using a propane torch. Similarly, heat the opposite side of the fitting. This will ensure the heat is distributed evenly.
Step 9: Connect Solder Wire to Pipe
Now, touch the pipe using the solder wire. If you notice the solder melting, it is a sign that the pipe is ready to solder. Without wasting time, insert a half-inch of solder into the joint.
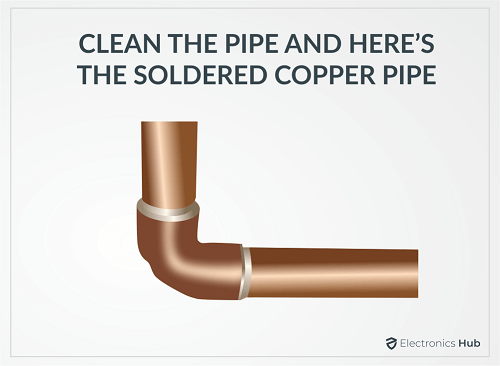
Step 10: Remove Excess Solder
After this, remove the left-over solder using a cloth. Allow the setup to cool for some time. Then install the pipe, turn on the water, and check for leaks. If the pipe leaks, again you have to do the same thing. If not, you are good to go.
Tools required for Soldering Copper Pipe
Below is the list of tools and materials required to solder the copper pipes. The best thing is you can get these items from any hardware store.
1. Torch
You can get a basic torch if you are using it for personal purposes. For commercial purposes, you can get an advanced model with extra features.
2. Fuel
You can either use propane gas or MAPP gas as fuel. We recommend you go with MAPP gas. It is efficient and heats up the joint quicker than propane gas.
3. Flux
The primary purpose of flux is to prevent the filler material and base metal from oxidizing when you are soldering it. There are different types of flux available. You can get one depending on your choice.
4. Solder
Solder, also known as the filler material, melts and holds the two pieces of metal together. As per the plumbing code, you should not use a 50/50 solder as it contains lead. We recommend you use a 95/5 solder. Or else, you can use any solder that is led-free.
5. Lighter
Some torch models will come with a built-in lighter. If your torch does not have this, you have to get a separate lighter to light the torch.
6. Cleaning accessories
Besides these, you also need wire brushes, sandpaper, and a rag to clean the metals before and after soldering.
How to Clean the Pipe and Fitting?
In the copper pipe soldering process, the first step is to prepare the pipe and the fitting. You have to clean them to ensure there is no dust or any debris present on their surface. Since you will be soldering the pipe along the inner surface of the fitting, you can have to clean that area as well. You can not use a cloth as you will not have access to the inner area. So, you will have to use a brush to gain access and clean the inner surface of the fittings.
How to Flux the Pipe and Fitting?
Applying the flux on the pipe and fittings is a simple and straightforward process. You have to ensure the flux covers both the surfaces where you will be soldering.
How to Solder?
Now, we enter into the most important part. You have to heat the part where you want the filler material to be pulled into. The filler material will be pulled through the concept of capillary action. First, you have to start heating the joint at the bottom. If you heat it at the top first, the solder will flow down at the bottom due to gravity. Keep heating the joint until it sucks the solder in. Slowly, heat the joint at the top surface as well to distribute heat evenly. After heating for a certain time, the solder will melt and heat the joints. Once it is done, inspect the joint to check its strength. If you see any voids in the joint, you have to reapply some flux and repeat the process.
How to Wipe the Joint?
After you have soldered the pipe and the fitting together, you have to remove the excess flux from the joint. You have to wait for the joint to cool down before wiping away the flux. Some commercial plumbers will apply flux on the joint and clean it while it is still hot. But, this will reduce the temperature of the joint and lead to cracks. After it has cooled down, you can use a rag cloth to remove the excess flux.
Conclusion
As you have seen, soldering copper is not really a difficult task. It is the same as soldering any other materials. If you do not have any experience in soldering, we recommend you seek the services of a professional plumber. At the very least, do not do it alone. Have an experienced person alongside you while doing it for the first time. Also, no matter how experienced you are, always keep a fire extinguisher and a first aid kit ready while soldering the copper pipes. For any other queries or doubts, you can contact us using the comments section. My team will help you out. You can also post your thoughts and opinions in the comments box. Comment * Name * Email * Website
Δ




![]()