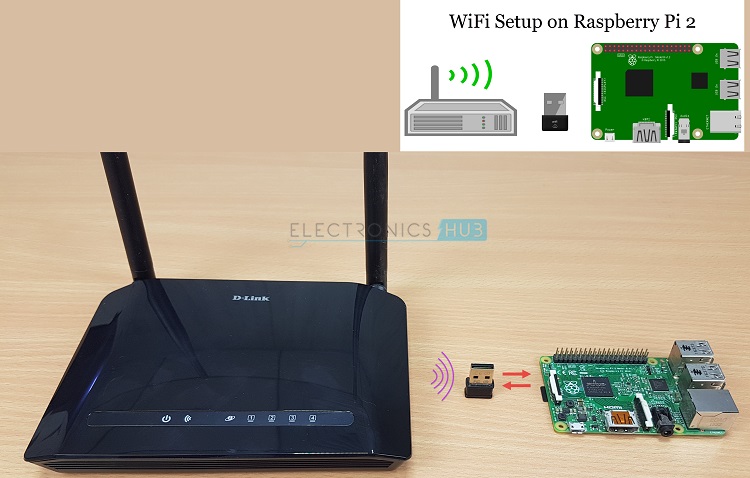
In previous tutorial, I’ve explained how to connect Raspberry Pi 3 to a WiFi Network using the on – board WiFi Adapter. In this tutorial, I’ll show you how to setup WiFi on Raspberry Pi 2 using a WiFi Dongle and get connected to a WiFi network.
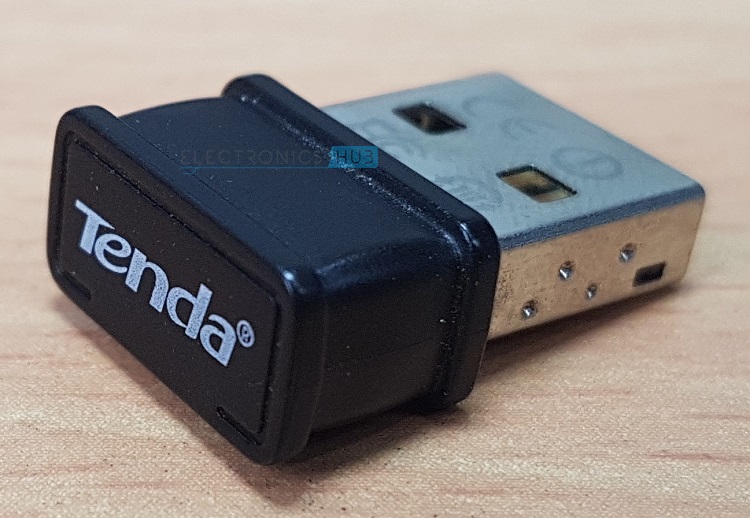
We have already seen how to setup a Raspberry Pi Computer in headless fashion i.e. without using monitor and keyboard. We have also seen how to enable and configure the WiFi in Raspberry Pi 3. In order to connect a Raspberry Pi 2 or older devices (which doesn’t have on – board WiFi Adapter), we need to use an USB type WiFi Dongle. The WiFi Dongle used in this project is a Tenda W311MI USB Adapter. This particular adapter supports IEEE 802.11b/g/n protocols with speeds up to 150Mbps.
We will now see how to configure the Raspberry Pi 2 to access a WiFi network. The following steps are common whether your Raspberry Pi is connected to a Monitor and Keyboard or it is accessed using a remote SSH Client like Putty in a headless fashion.
Connect the Hardware
If your Raspberry Pi is already turned on, turn it off and connect the USB WiFi Dongle to any of the USB ports on the Raspberry Pi. If you are using your Raspberry Pi with monitor or TV, connect the Raspberry Pi to your monitor and keyboard. Also connect an Ethernet cable (optional, if you are using monitor and keyboard) to the Raspberry Pi and have a computer (with internet connection) ready. Now you can turn on the Raspberry Pi and wait till it boots up.
Check for USB WiFi Dongle Hardware
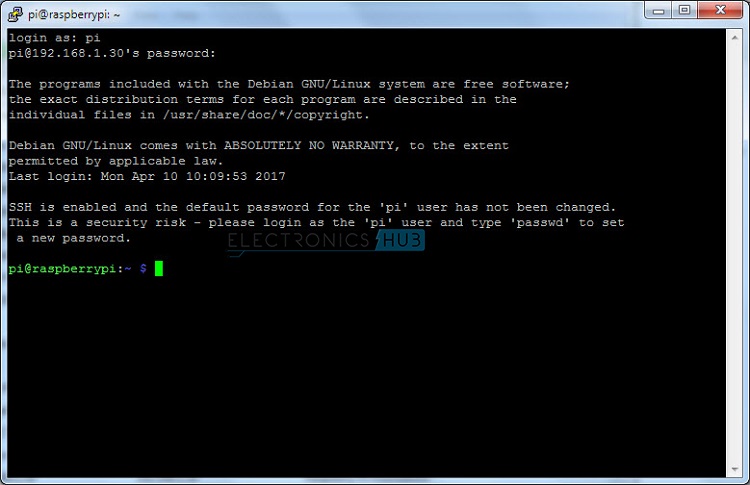
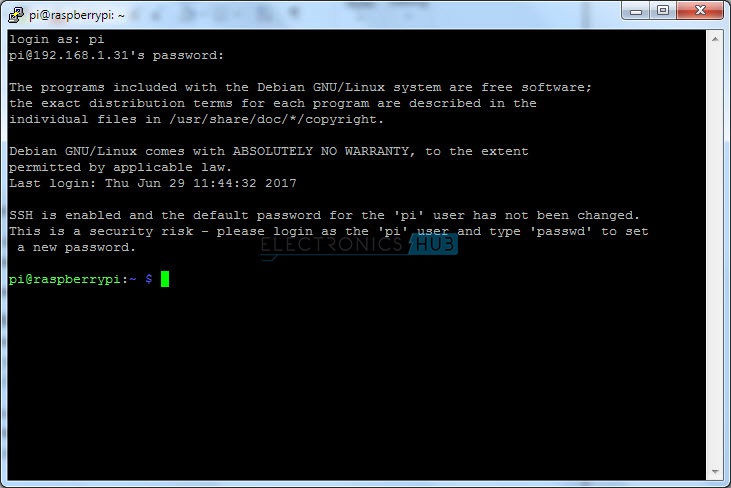
If you are using Putty (headless setup), login to Raspberry Pi using the username and password. If you are using a monitor, open the Terminal from the desktop.
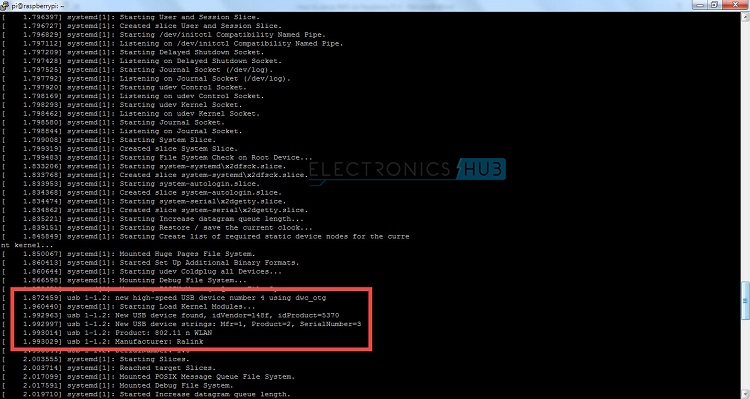
To check whether the Raspberry Pi detected the WiFi Dongle hardware that is plugged in to the USB port, type the following command in the terminal and hit enter. dmesg | more Hit space bar multiple times to jump to next page of the list. If you scroll down, you can see few lines related to the WiFi Dongle, something similar to the following. [ 1.872459] usb 1-1.2: new high-speed USB device number 4 using dwc_otg [ 1.992963] usb 1-1.2: New USB device found, idVendor=148f, idProduct=5370 [ 1.992997] usb 1-1.2: New USB device strings: Mfr=1, Product=2, SerialNumber=3 [ 1.993014] usb 1-1.2: Product: 802.11 n WLAN Adapter [ 1.993029] usb 1-1.2: Manufacturer: Ralink This means that the Raspbian OS has detected the USB WiFi Dongle. But the Dongle doesn’t work yet as we need to configure it.
Edit the Network Interfaces File
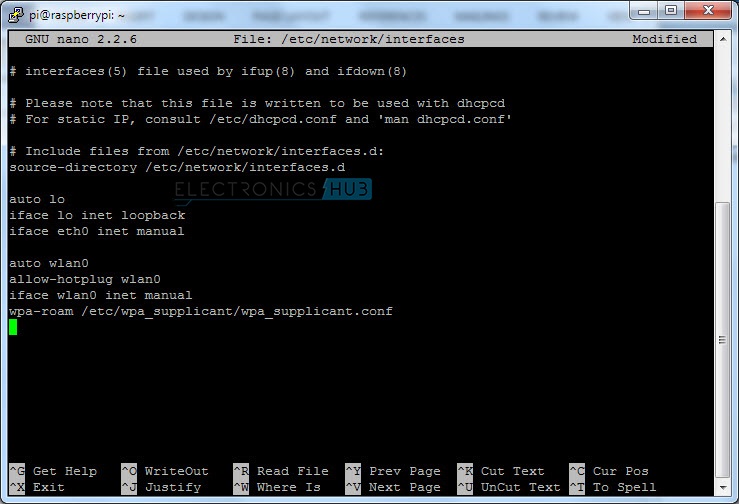
We need to edit the network interfaces file that is located at /etc/network/interfaces. This file sets up the WiFi Dongle we are going to use. In order to open the network interfaces file, type the following command and hit enter. sudo nano /etc/network/interfaces Depending on the version of the Raspbian Operating system you have installed, the network interfaces file will already have few lines of text. Regardless of the content, make sure the following lines of code are present. If not, add these lines to the existing code. auto lo iface lo inet loopback iface eth0 inet manual auto wlan0 allow-hotplug wlan0 iface wlan0 inet manual wpa-roam /etc/wpa_supplicant/wpa_supplicant.conf Your updated code should look something like this. Press CTRL+X to exit the editor. It will ask you whether to save changes to the file or not. Type y and hit enter. You will go back to the terminal. We are done with editing the Network Interfaces File.
Edit the WPA Supplicant File
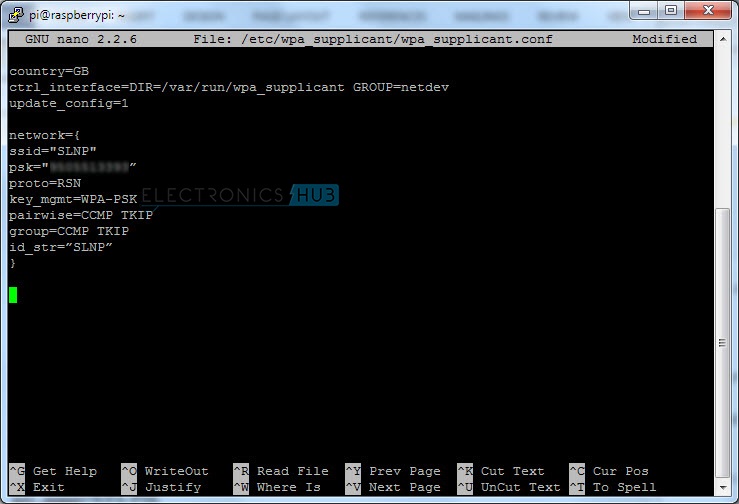
The WPA or WiFi Protected Access Supplicant file consists of the details regarding the WiFi network like the name, password, security, type etc. We need to edit this file and add the details of your personal WiFi network. In order to open the WPA Supplicant File, type the following command and hit enter. sudo nano /etc/wpa_supplicant/wpa_supplicant.conf Add the following lines of code to the existing code (if any). Make necessary changes to the following code as per your WiFi network details. network={ ssid=”Name of WiFi Network” psk=”Password of the WiFi Network” proto=RSN key_mgmt=WPA-PSK pairwise=CCMP TKIP group=CCMP TKIP id_str=”Name of WiFi Network” } The edited file will look something like this. Replace Name of WiFi Network with the actual name of your WiFi Network. In our case, it is SLNP. Similarly, enter the password of the WiFi network corresponding to psk. In order to exit and save the file with the same name, press CTRL+X and then Y and finally hit enter.
Reboot the Raspberry Pi
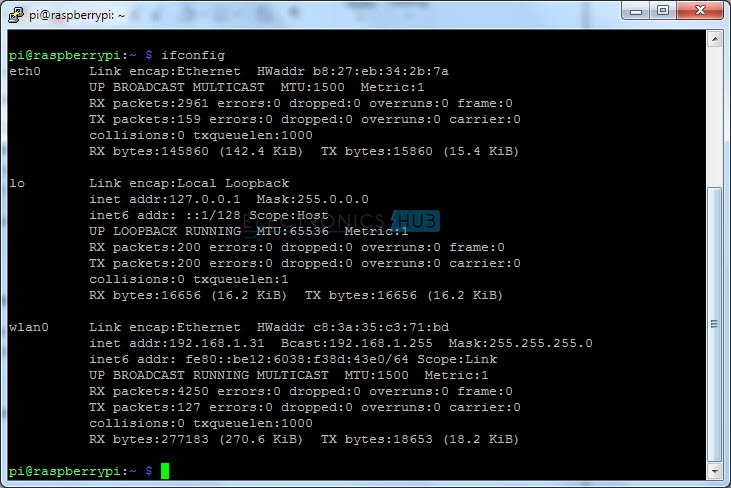
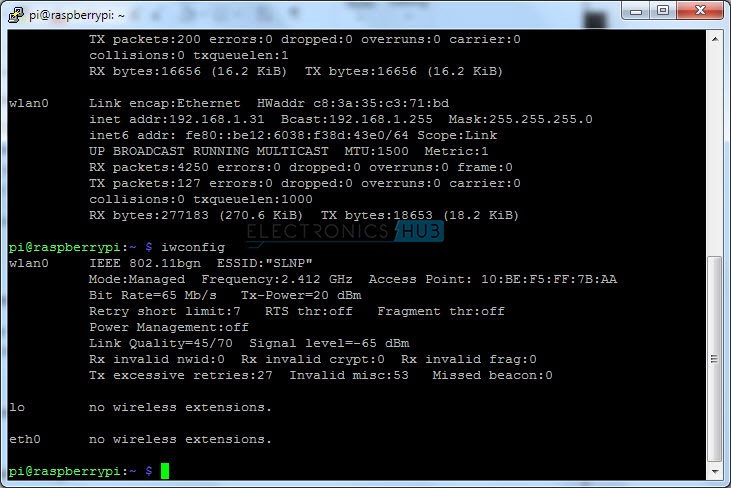
If you are done with the above steps, you can reboot the Raspberry Pi. In the Putty Terminal, just the following command. sudo poweroff After the Raspberry Pi is shut down, switch of the power supply and disconnect the Ethernet cable. Now, boot the Raspberry Pi and scan for the IP Address. If the WiFi is configured correctly, you should get the IP Address associated with the WiFi Dongle connected to the Raspberry Pi. Using this new IP Address, you can login in to the Raspberry Pi with the help of SSH Client Putty. To test the WiFi connection, we can use different commands. First, you can use the following command to get details of all the network connections. ifconfig This will return the IP Address, Transmitted bytes, Received bytes etc.
Another command is iwconfig. It is similar to ifconfig but it is associated only with wireless networks. iwconfig This command will return details like SSID, frequency, bit rate, power, link quality etc. If the Link Quality option reads 0/70 (0/Maximum), then the WiFi adapter didn’t get connected to the WiFi Network properly. Another way to test the connection is using Ping command. Use the following command and see if you get any reply. sudo ping www.google.co.in
To come out of the Ping, press CTRL+C.
Troubleshooting
If you are facing any trouble connecting to WiFi using the USB WiFi Dongle check for the following. These might be the problem (but not limited to these).
Power: WiFi Adapters might require more power and if your power supply cannot provide enough power to it, it might not function properly. Compatibility: Check for the list of compatible external WiFi adapters and buy one. USB Adapter: Check if the Dongle is perfectly fitted in to the USB Port. WiFi Network: Check if your WiFi network is up and running. Network Interfaces and WPA Supplicant Files: Make sure that you have entered the correct commands in the corresponding files. Power Down and Reboot: Power down the Raspberry Pi and reboot again.
That shouldn’t really happen. As root user you should be able to edit any file, which is why sudo is used, so that you don’t normally accidentally do it or allow a malevolent script to do it. Did you run it like this: sudo nano /etc/wpa_supplicant/wpa_supplicant.conf BBQ Comment * Name * Email * Website
Δ
![]()
![]()
![]()

![]()
![]()

