A screenshot is a very common feature nowadays and is available on every system. However, taking a screenshot on an HP laptop is a bit different. Due to the vast compatibility of Windows OS, you have a lot of options available to take different types of screenshots. Today, we will guide you on how to take screenshots on an HP laptop. While this information is focused on HP laptops, you can try the same steps on almost any other standard Windows laptop and get identical results. A screenshot can be of many types. It can be a fullscreen image, a cropped portion of the frame, a manually cut section, and so on. Here, you will find the best methods to capture a screenshot in general. Stick until the end to find out various different methods that allow you to take a screenshot on an HP laptop.
How To Take A Screenshot on HP Laptop
There are many different names given to a screenshot that are screengrab, screencap, screen capture, and many more. But essentially, taking a screenshot simply means capturing the contents present on the screen at a particular time and storing it in an image format for further use. In order to take a screenshot on an HP laptop, you will have to use some of the common screenshot methods that are present by default in Windows OS, assuming you are running the Windows operating system. It is a very easy process and you can definitely save the contents of your screen within minutes. Even if you come across time-sensitive content, we have a method that will instantly save the image without wasting another second. These are some of the many processes you can follow to take a screenshot on an HP laptop.
1. Capturing A Screenshot of The Complete Screen
If you take a look at the keyboard that you are using right now, you will probably find a dedicated button called “PrtScn” or “PRT SC” in the case of laptop keyboards. This button on the keyboard serves only one function which is to take the screenshot on your HP laptop or desktop computer. To be specific, it can only capture full-screen screenshots. If you want to capture full-screen screenshots on your HP laptops, follow these methods:
Open the content which you need to save as an image file. Once the content is on the screen, make sure there is no window or cursor blocking it. The content will be stored identically to how it appears on the screen. Once the content is ready to capture, simply press the “PrtScn” or “PRT SC” button once.
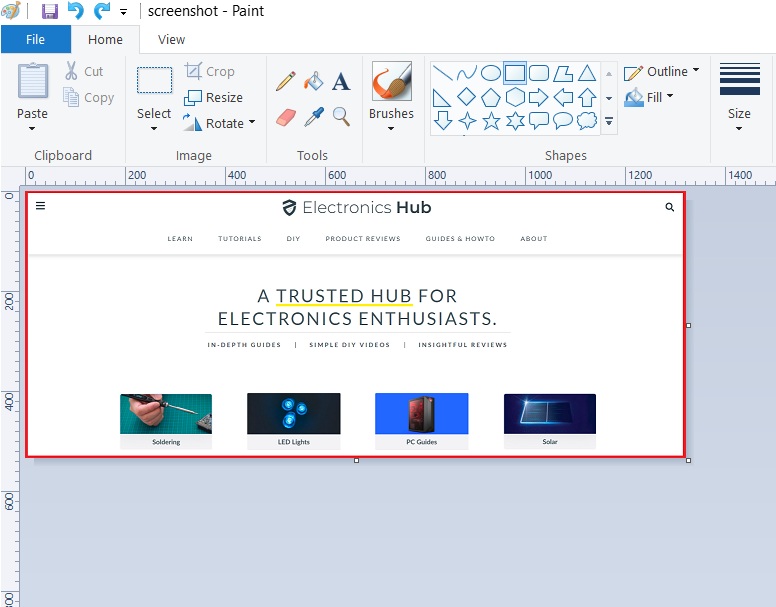
This will create a copy of the content on your clipboard. Now, open any document editor or program where you can paste the image. MS Paint also works for this method.
Press “Ctrl+V” to paste the captured image.
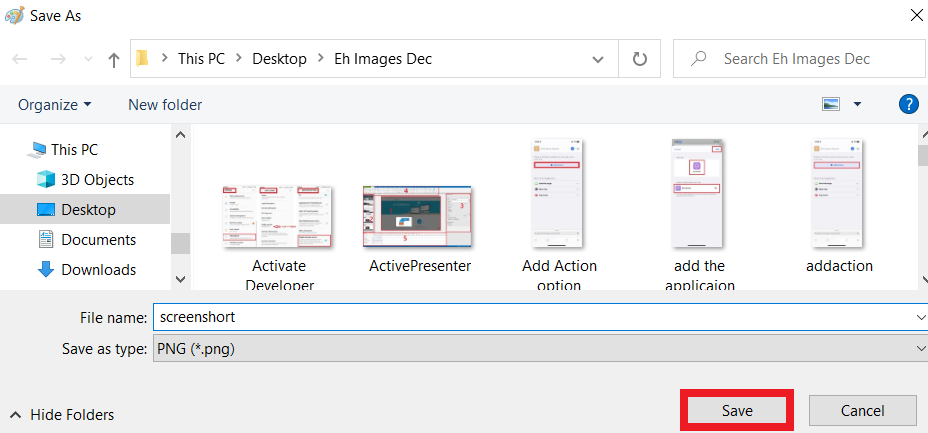
Now, you can save the image as it is, or edit it further in the same MS paint window.
Fast Method As you may have noticed, the above-mentioned “PrtScn” method is a bit slow and cannot be used for time-sensitive content. Hence, this is a faster way of capturing screenshots on an HP laptop.
Get to the screen which you wish to save as a screenshot. Once you are on the screen, simply press “WinKey” + “PrtScn”.
Now, your screen will blink once. This is the indication of successful image capture. If the screen did not blink, press the keys again. Once you take a screenshot by this method, it is automatically saved in the default screenshot directory. In windows, the default location for screenshots is : C:\Users[your username]\Pictures\Screenshots Once you get to this folder, you will find additional folders which categorize the screenshots with respect to their source for faster access.
2. Capturing The Screenshot of Partial Screen
In many cases, the content that you wish to save somewhere on the screen. But by taking a fullscreen screenshot, you capture the unnecessary part of the frame as well which you need to edit out before you can use the image. To avoid that, you can use the following method to take a partial screenshot on an HP laptop.
Open the screen of the frame that has the content which you wish to save. Now, press the “Shift” + “WinKey” + “S” key combination in order.
This will dim the current screen and put a layer of another display on top of it which is basically a screenshot tool. Your cursor will also turn into a “+” icon so that you can crop the image precisely. To capture the screenshot, simply click and drag through the screen to create a window that covers the essential content. As soon as you let go of the left-click, the window will disappear and the cropped image will be saved in your clipboard. You can now paste the image anywhere you want to save it or edit it further. On top of the screenshot tool, you will find a few options that allow you to make a freehand crop, fullscreen snip, or a window snip for better accuracy.
3. Snipping Tool
Other than the shortcut methods provided above, Windows 10 also has a dedicated tool for taking a screenshot called the “Snipping Tool”. As it is basically a program designed to specifically capture screenshots, it offers many additional methods and options for taking a screenshot. Here’s how you can use the snipping tool on an HP laptop.
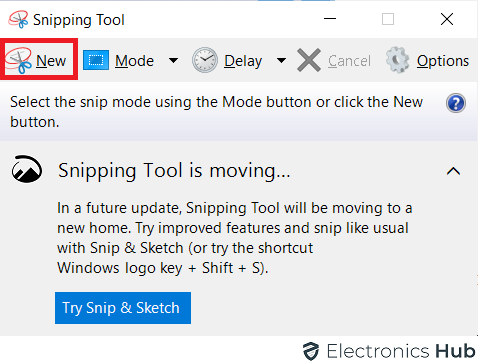
To open the Snipping Tool, simply search the term in the Windows search bar. Click on the scissor icon to open the Snipping Tool.
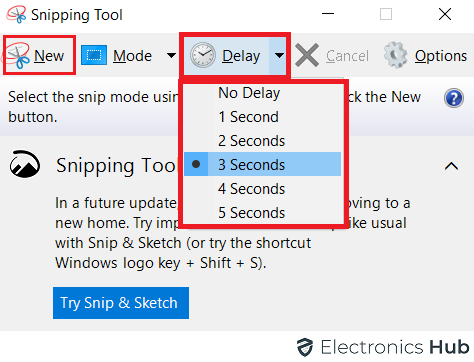
Once the Snipping Tool window is open, simply click on “New” or press “Ctrl”+ “N” to start taking a new screenshot.
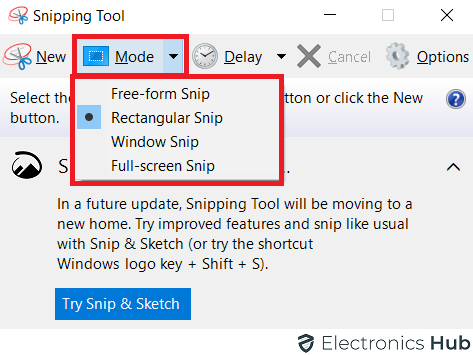
As you click on it, you will notice a white blur on other windows where you can crop and save the screenshot which you want to capture. Once you finish cropping the frame, the tool will instantly pick up the screenshot and open it in a dedicated image editor within the app itself. Here, you can add remarks or send the image directly via mail. Before taking the screenshot, you can also browse the tool for additional features such as various capture modes
Delays between the crop and screen capture.
4. Snagit
Just like most other programs, Snagit is a 3rd party program designed to replace the default screenshot programs and offers many additional features that are missing from the default one. For example, you can capture images as well as videos from your screen with the help of Snagit software. You also get to control how the software works when you are taking a screenshot.
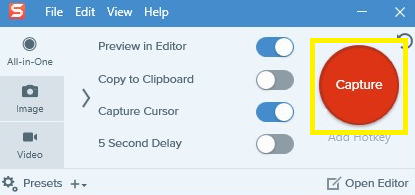
Snagit offers pretty basic controls which are easily accessible by everyone. The program features a giant red button that triggers the capture mode. After that, it is pretty similar to default Windows programs as you need to capture the section by cropping the display. You can also set up a few presets in the app as well as get access to an in-app editor for post-processing the captured screenshot.
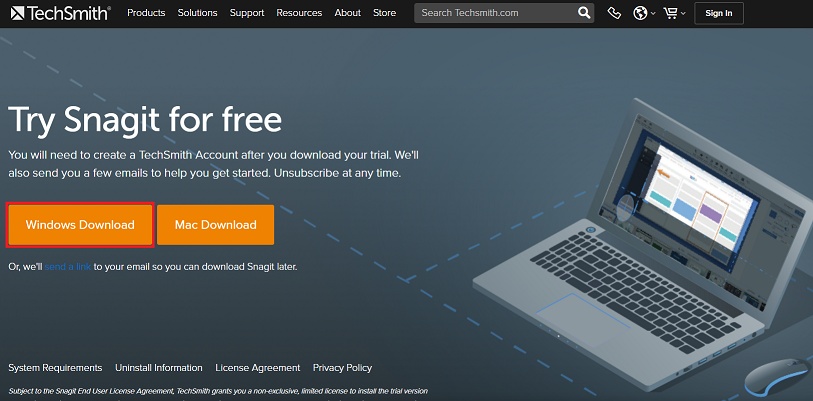
Snagit is a premium software and offers a free trial period. In that, you can test the software and check whether it is ideal for your requirements or not before purchasing it.
Conclusion
Taking a screenshot is a very basic process and easily accessible on any laptop or desktop computer. You can either use the default methods included with the Windows OS or get a 3rd party software for better results at a premium cost. Both of these methods are suitable for an HP laptop. If you have managed to successfully capture a screenshot on your HP laptop, let us know in the comment section below. You can also discuss your queries and problems regarding this guide via the comment section. ess and easily accessible on any laptop or desktop computer. You can either use the default methods included with the Windows OS or get a 3rd party software for better results at a premium cost. Both of these methods are suitable for an HP laptop. If you have managed to successfully capture a screenshot on your HP laptop, let us know in the comment section below. You can also discuss your queries and problems regarding this guide via the comment section. Comment * Name * Email * Website
Δ






![]()