Speaking of Google Slides, it lets you create presentations on the go. By this, we mean, all you need to have is a Google account, and you are good. There is no need to install an application on your PC and activate it (most of them require activation to access full features). While there are masters of Google Slides, there are still quite a lot of people that do not know how to add image captions to Google Slides. Just to be clear, there is no readymade option available inside Google Slides using which you can add captions to your images. However, in this guide, we will share with you a few methods that will help you add captions to your images on Google Slides. Without any further ado, let us jump right in.
1. Use Text Box
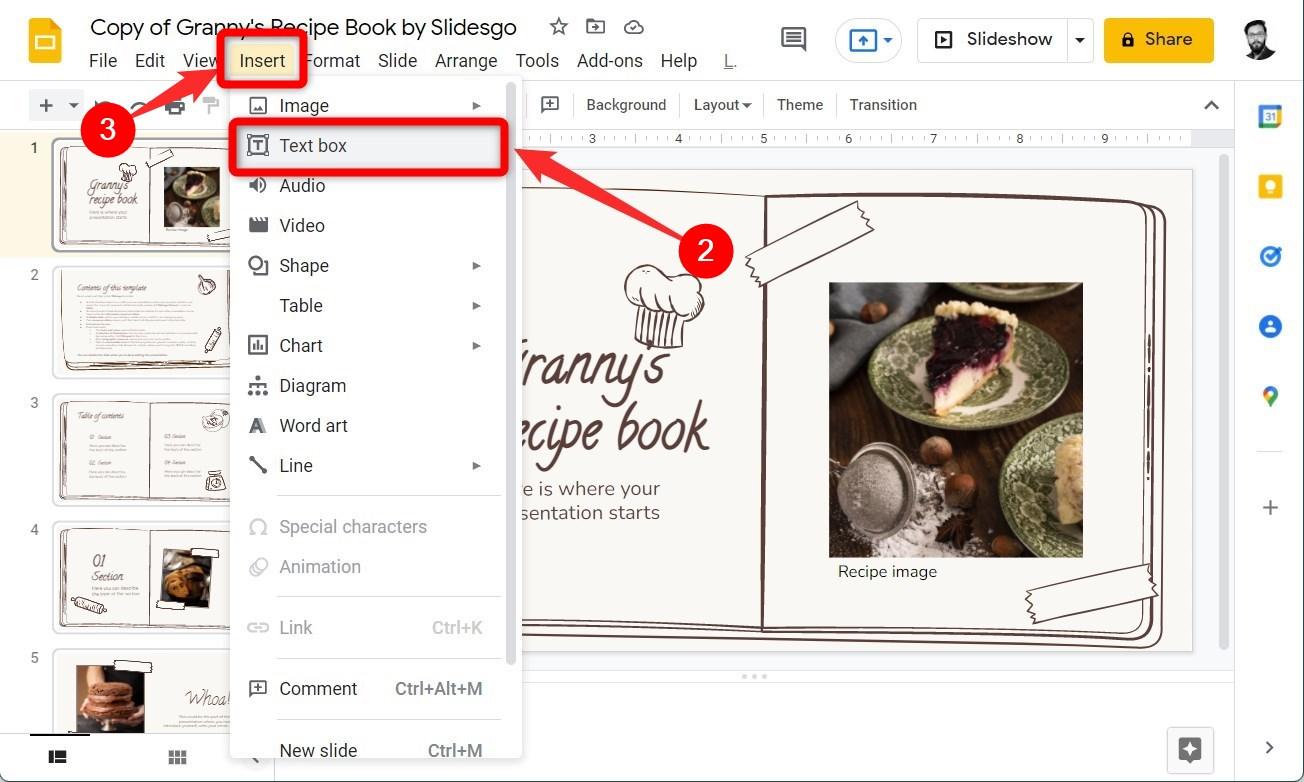
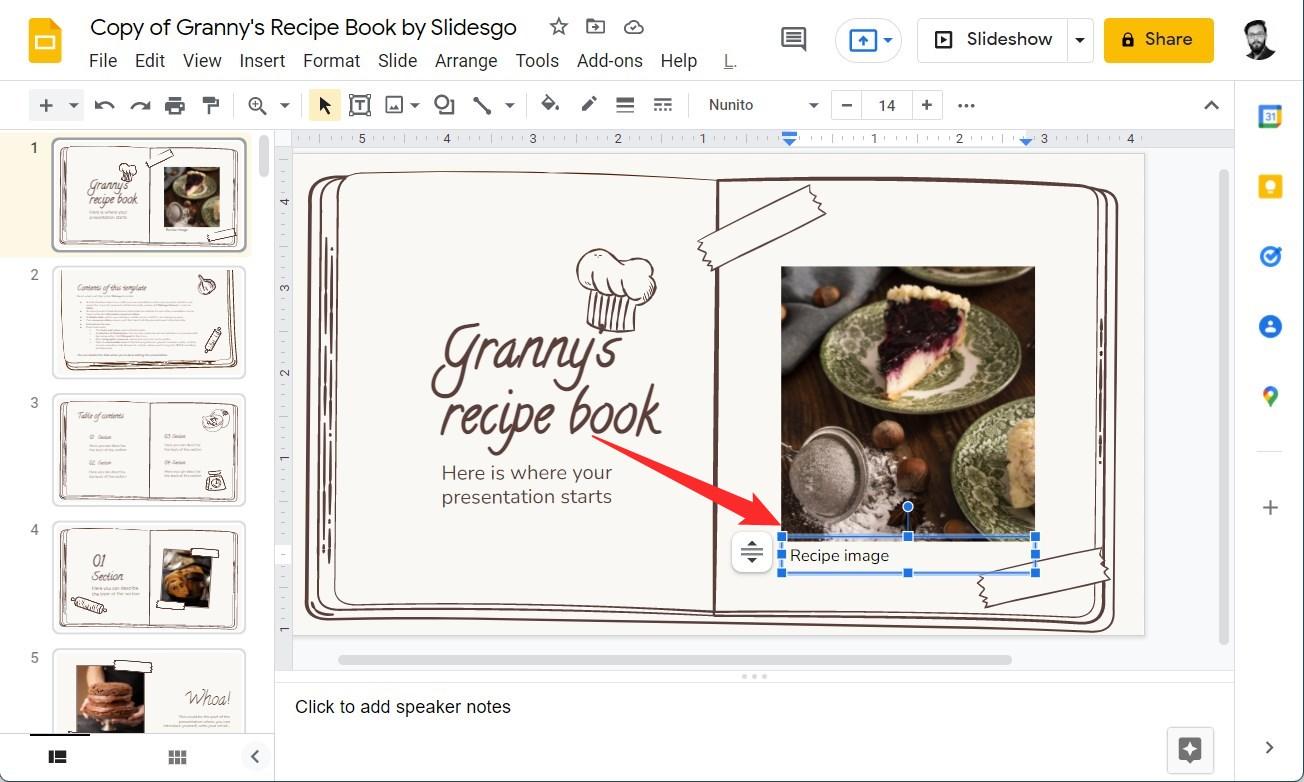
Yes! By using a text box, you can easily add an image caption on Google Slides. It is as simple as adding a text box to explain something important about an image. Here’s how you can do it:
2. Use an add-on
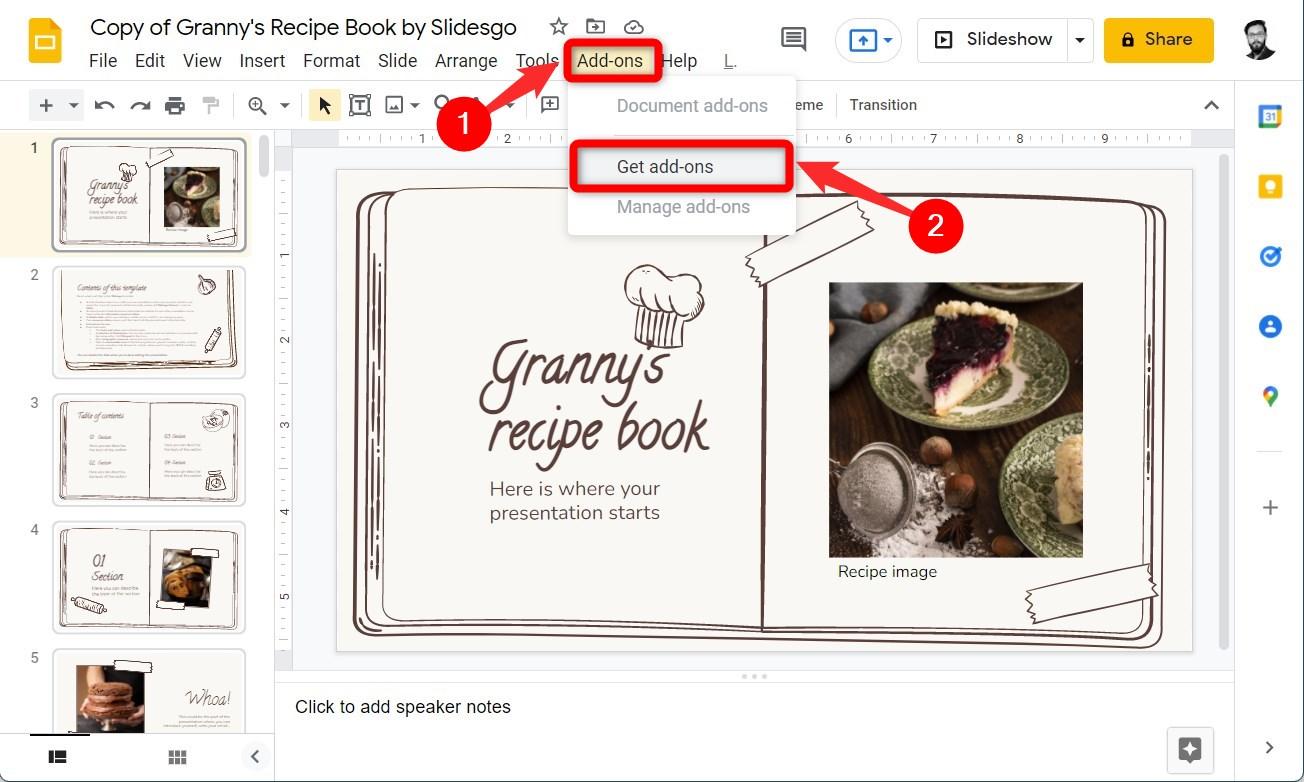
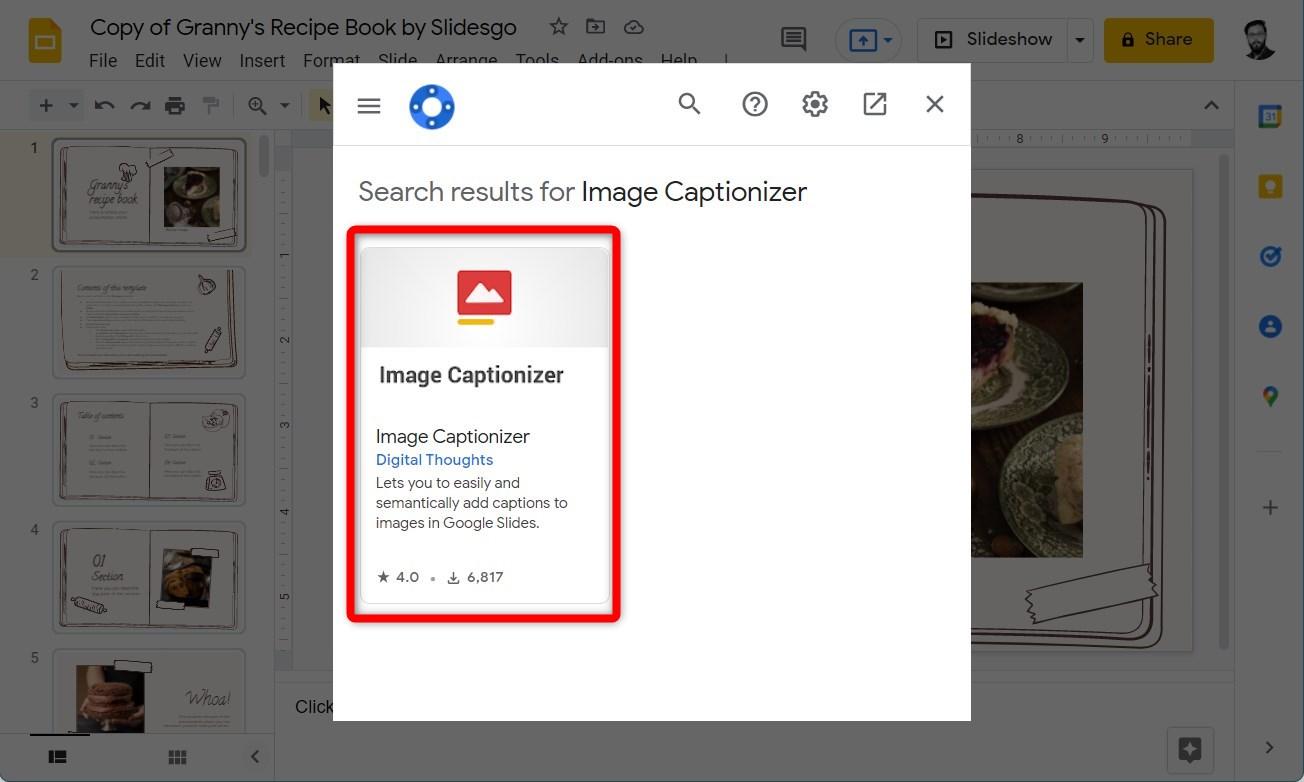
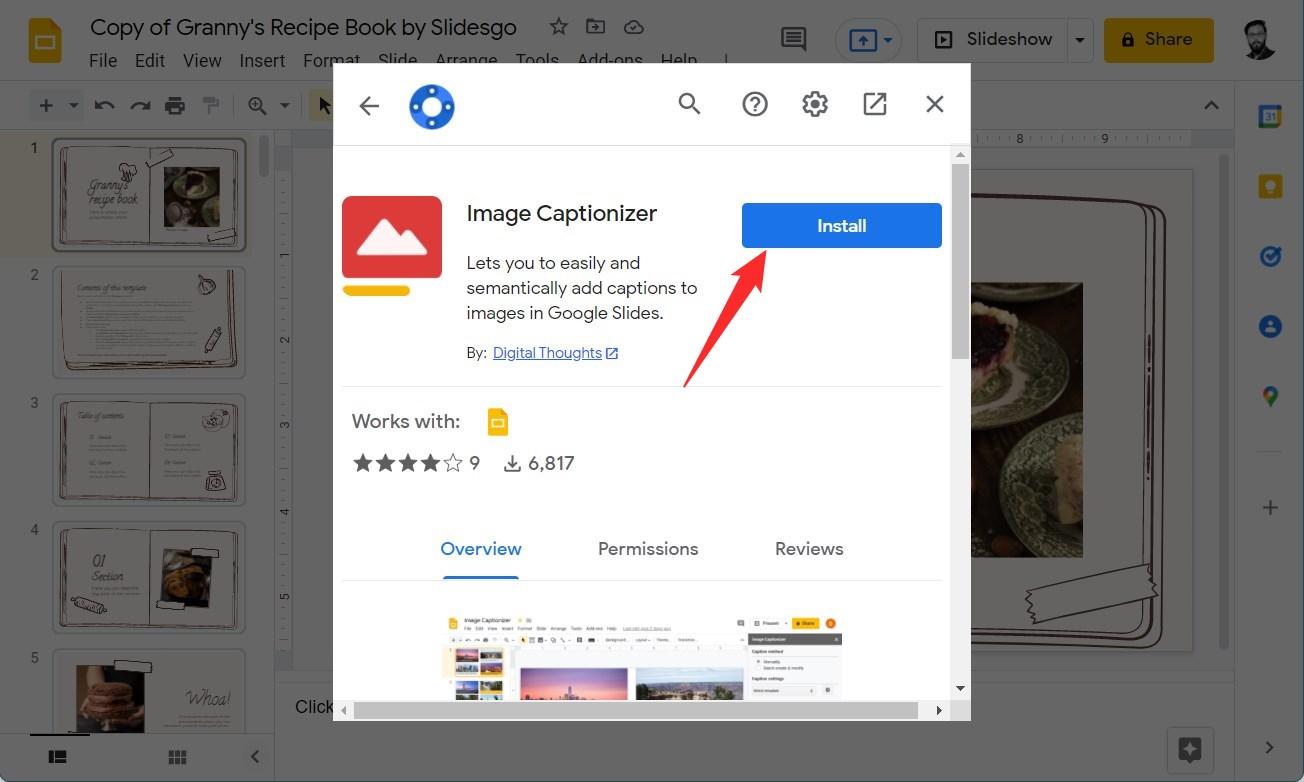
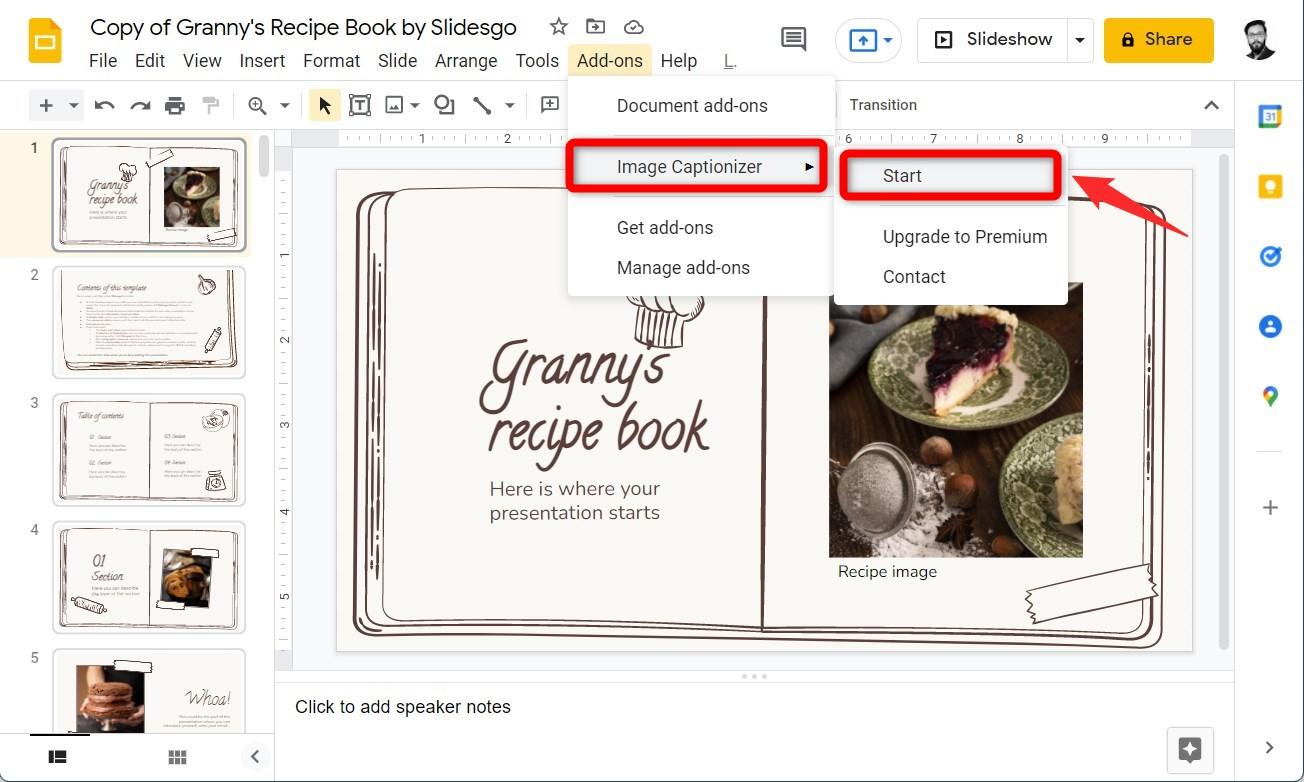
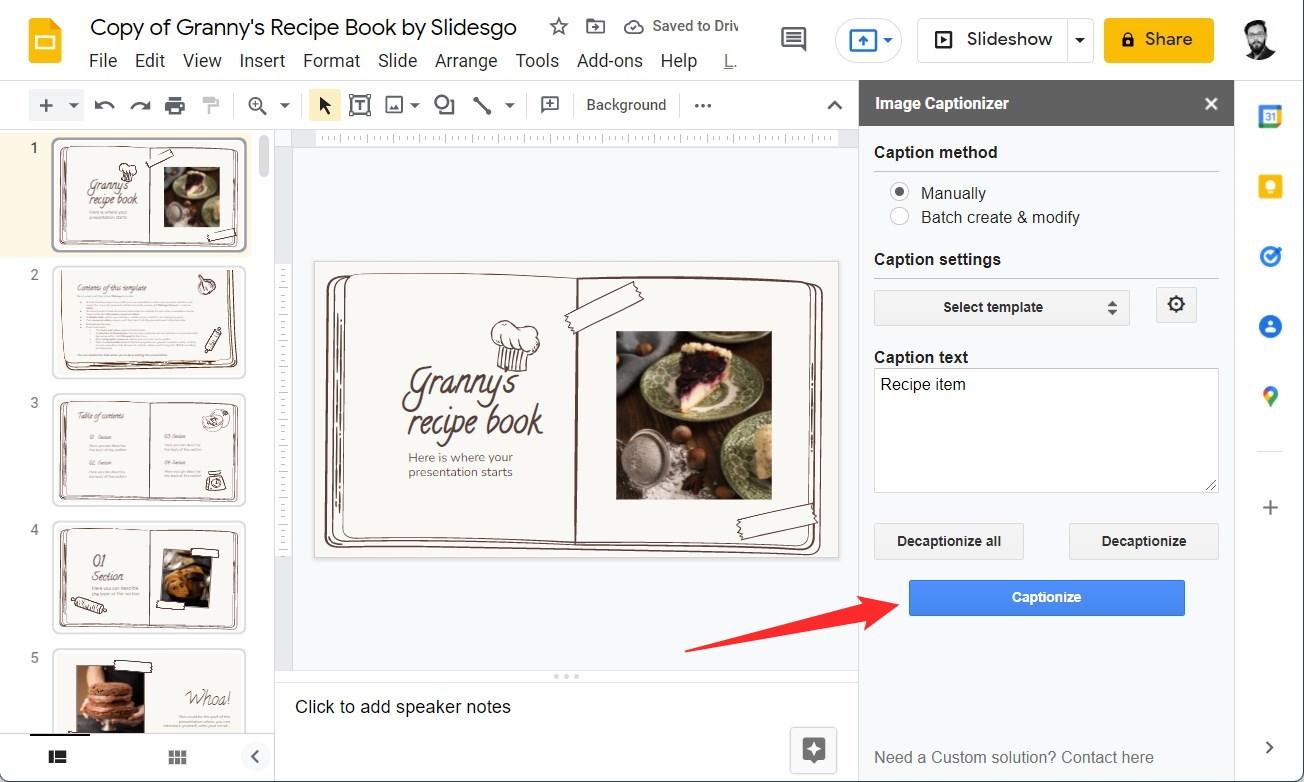
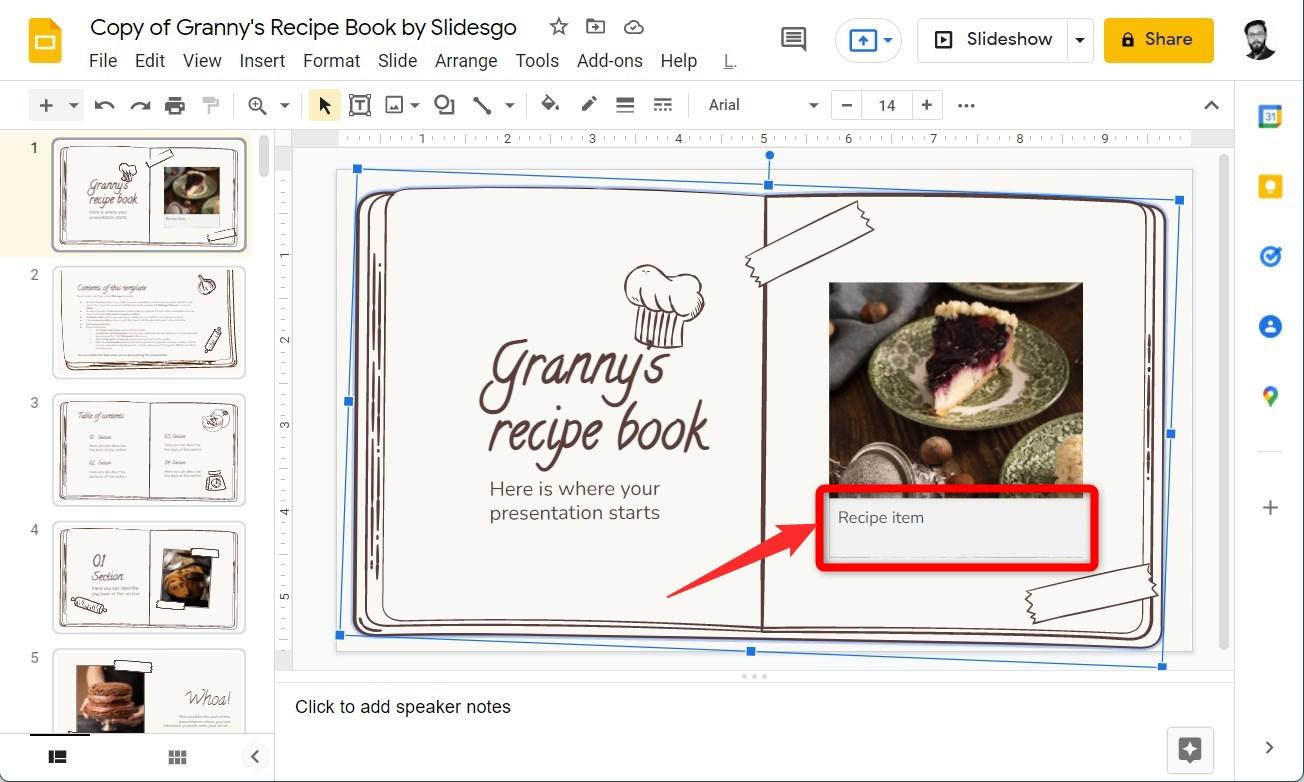
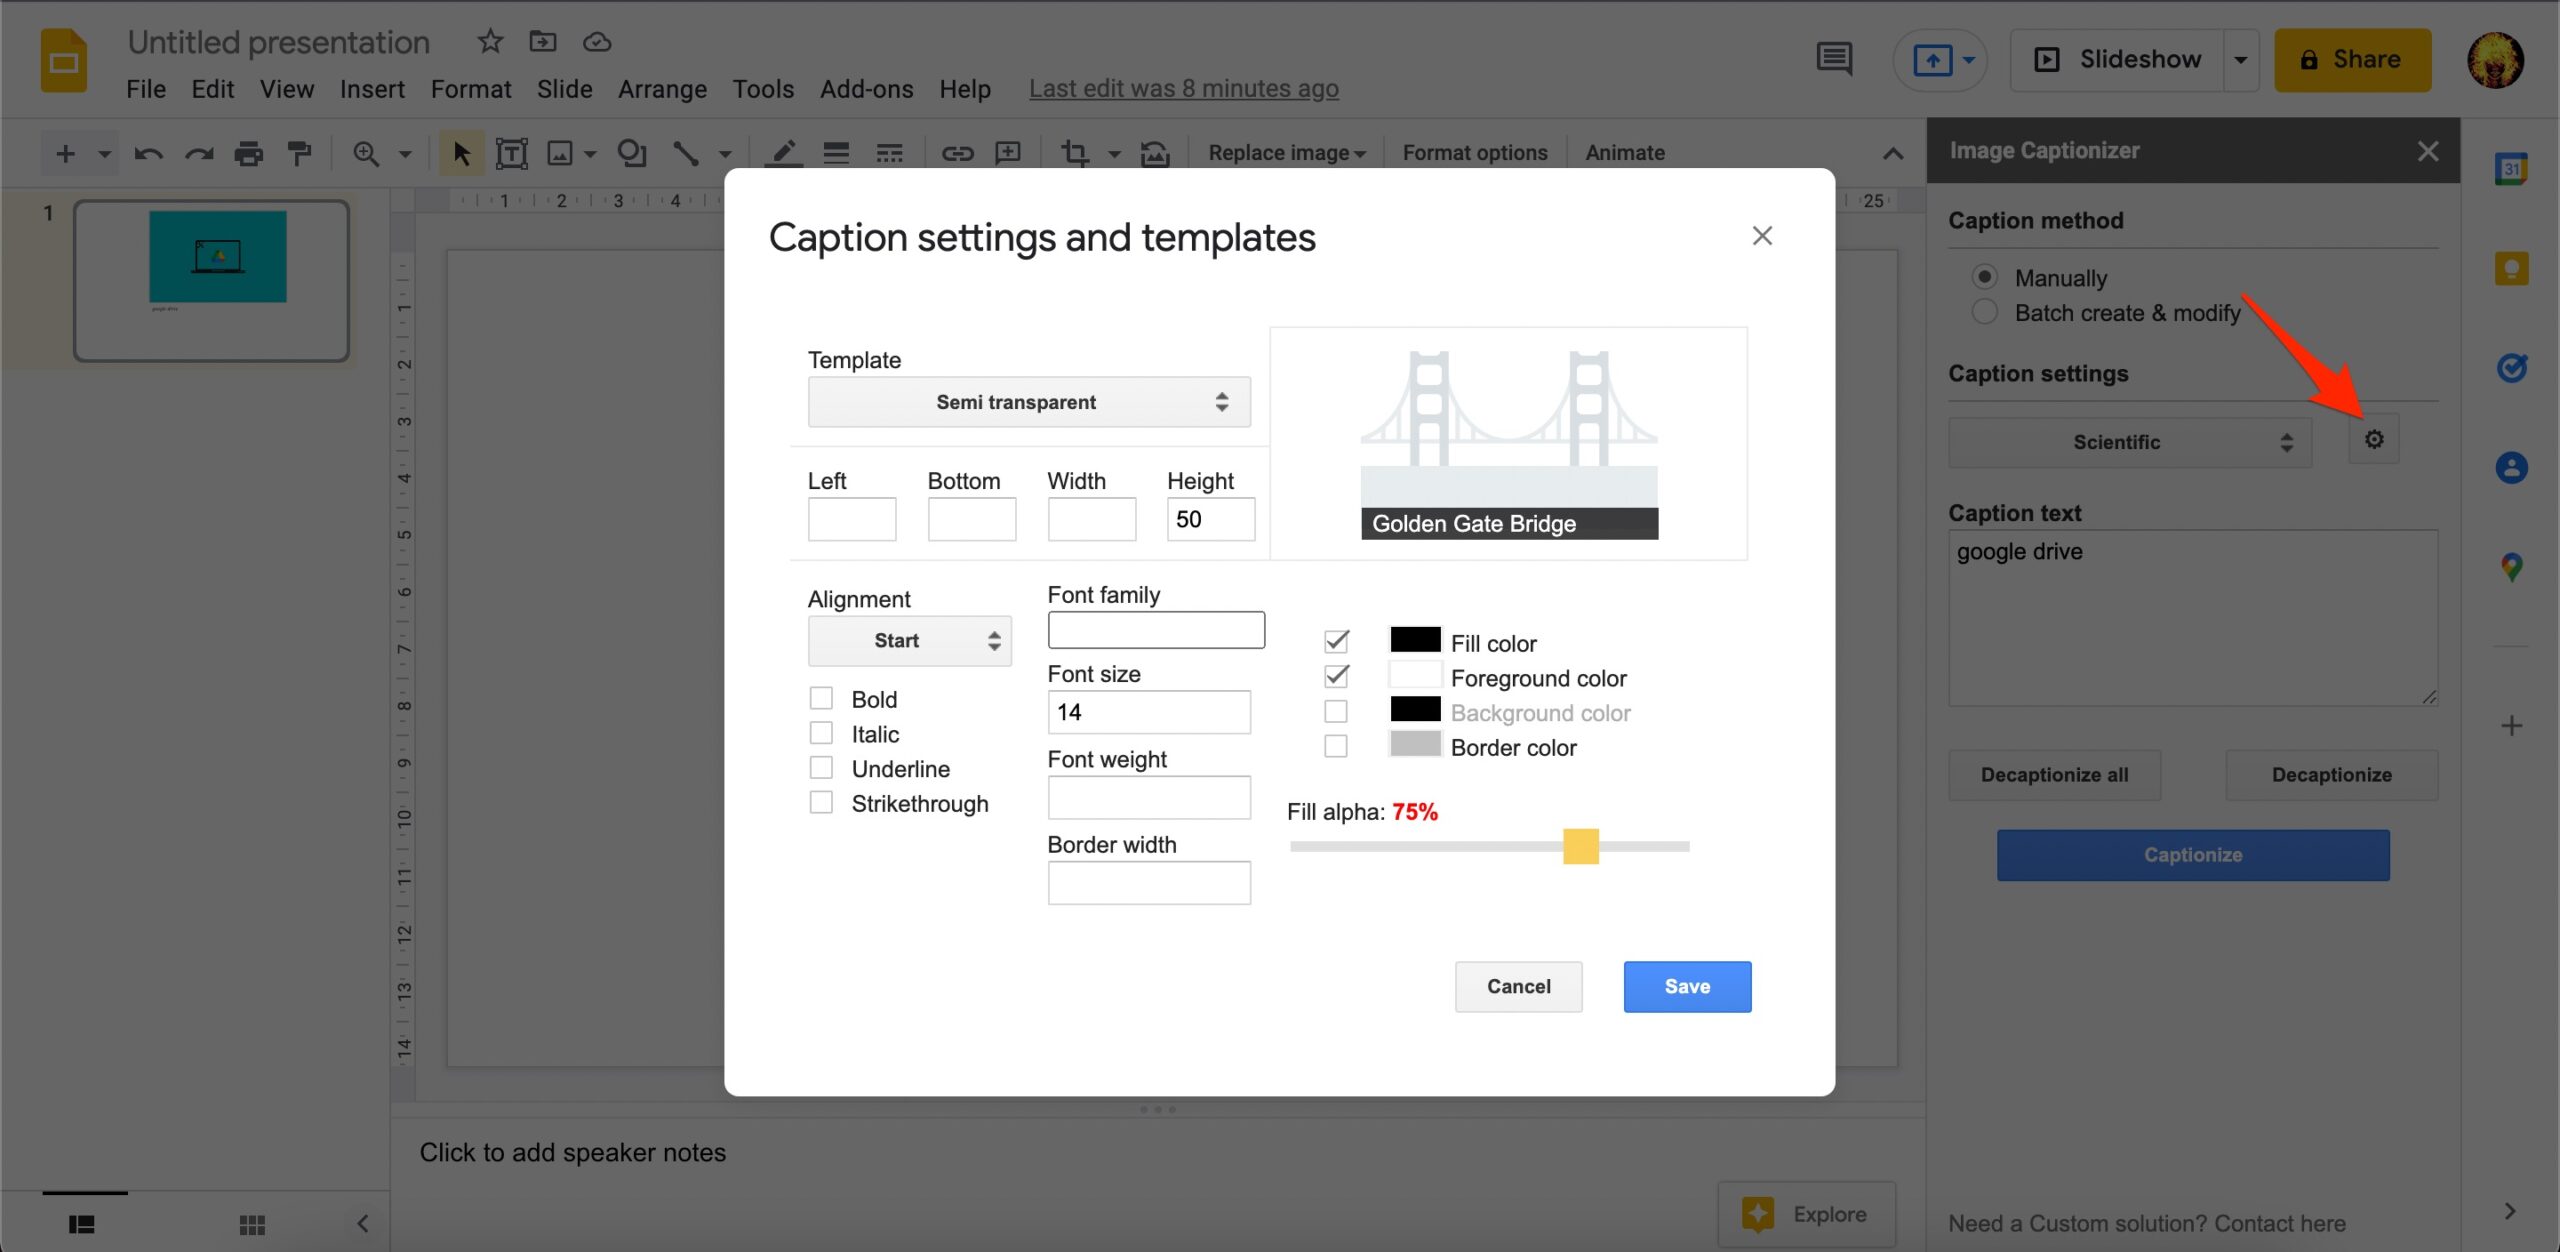
You can enhance the productivity and feature list of the Google Workspace apps by using addons. There are multiple add-ons available from the Web Store for Google Slides. However, in our case, we will use the Image Captionizer addon. It is a small tool, that lets you add captions to your images. The best part about this application is that it lets you add captions to your images all at once. In the same line, you can also remove captions from all images on your slide with just one click. Let us take a look at how you can install and use Image Captionizer on Google Slides. If you have typed something wrong or want to start from scratch, then you can use the Decaptionize all option to remove captions from all images in your Google Slide.
