Introduction
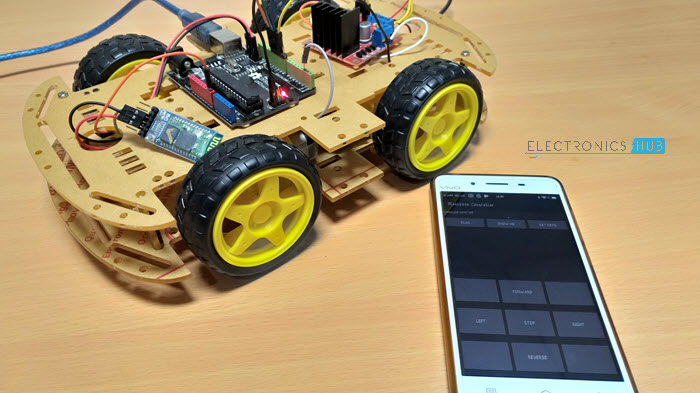
Robots are always a fancy topic for students, hobbyists and DIYers. If you are beginner, then building a robot (like a car or an arm) is probably one of the important projects to do after learning about the basics. If you remember the earlier tutorial, I have discussed about HC-05 Bluetooth Module and how to interface one with Arduino. Also, I have provided a simple Bluetooth Controller App, which can be installed on your Android Phone and start transmitting the data. As a continuation to that project, I will be implementing Bluetooth Controlled Robot using Arduino and a few other components and build a simple robotic car that can be controlled using an Android Phone (through an App) over Bluetooth Communication.
Prerequisites for Bluetooth Controller Robot
Apart from Arduino, which is the main controlling module of the project, there are two other important modules that you have to be familiar with in order to implement the Bluetooth Controlled Robot project. They are the HC-05 Bluetooth Module and the L298N Motor Driver Module.
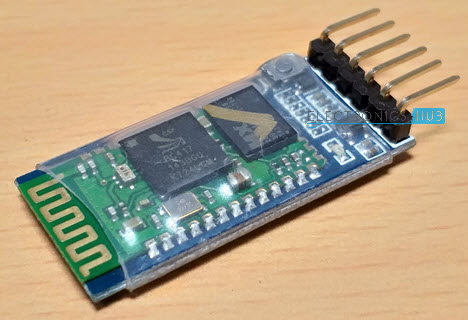
HC-05 Bluetooth Module
The HC-05 Bluetooth Module is responsible for enabling Bluetooth Communication between Arduino and Android Phone. For more information on HC-05 Bluetooth Module, refer to HC-05 BLUETOOTH MODULE.
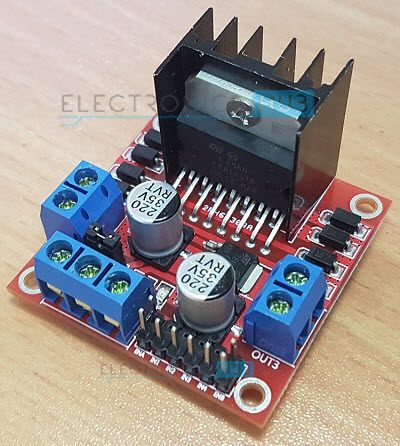
L298N Motor Driver Module
The L298N Motor Driver Module is responsible for providing the necessary drive current to the motors of the robotic car. I have provided information about L298N Module in an earlier project called Arduino DC Motor Control using L298N. So, refer to ARDUINO DC MOTOR CONTROL USING L298N for more information on interfacing L298N with Arduino. NOTE: I strongly recommend you to refer to the above mentioned two projects before proceeding further.
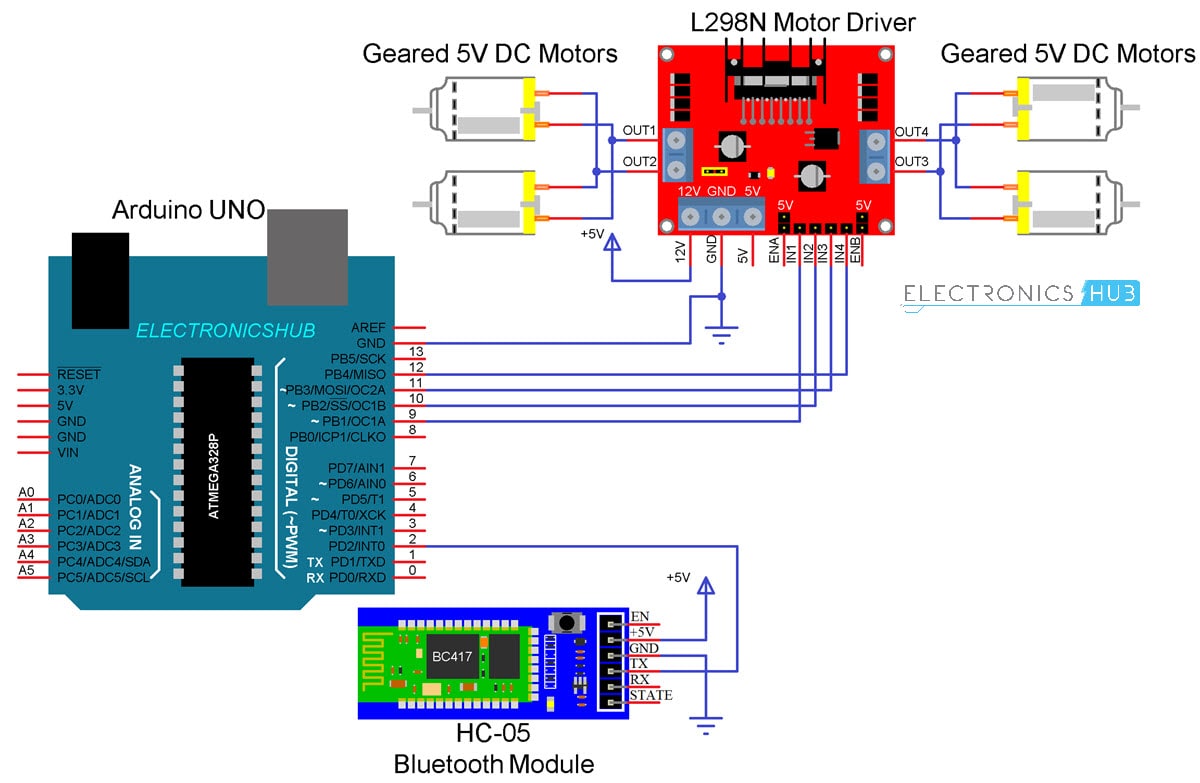
Circuit Diagram of Bluetooth Controlled Robot
The following is the circuit diagram of Bluetooth Controlled Robot using Arduino, L298N and HC-05.
Components Required
Arduino UNO [Buy Here] L298N Motor Driver Module [Buy Here] HC-05 Bluetooth Module Robot Chassis 4 x 5V Geared Motors Connecting Wires Battery Holder Power Supply Android Phone Bluetooth Controller App
NOTE: I have used L298N Motor Driver Module to drive the motors of the robot. You can use either this one or L293D Motor Driver Module. If you are using L293D, then check out for the connections.
Circuit Design
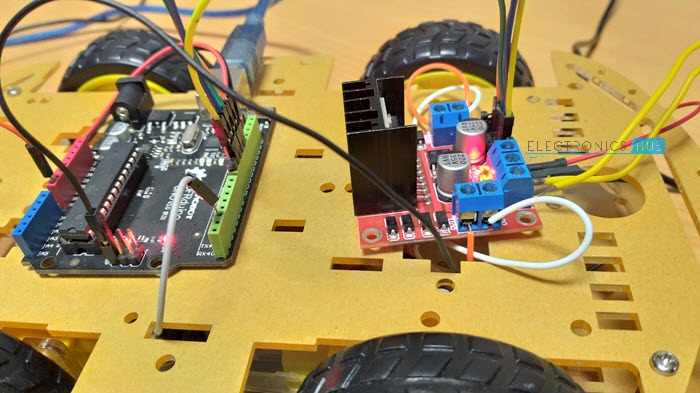
I wouldn’t go into the details of the construction of the robot as your robot chassis might be different from mine and you can easily figure it out how to build the robot from the available parts and possible cable management for making the robot more appealing. Coming to the design of the circuit, first is the HC-05 Bluetooth Module. The +5V and GND pins of the Bluetooth Module are connected to +5V and GND of Arduino. Since I will be only transmitting data related to the Robot’s movement from Android Phone to Bluetooth Module and do not intend to receive any data from Arduino, I will connect only the TX pin of the Bluetooth Module to RX Pin of Arduino. This RX pin of Arduino is based on SoftwareSerial library (Pin 2 and Pin 3 are configured as RX and TX on Arduino). The RX pin of the Bluetooth is left open.
Now, the L298N Motor Driver Module. Digital I/O Pins 9 through 12 of Arduino are configured as Input pins of the Motor Driver and are connected to IN1 through IN4 of the L298N Motor Driver Module. Both the Enable Pins are connected to 5V through provided jumper. The robot chassis which I am using in this Bluetooth Controlled Robot Car project is supplied with 4 geared motors. Since L298N has slots for only two motors, I have joined the left side motors as one set and the right side motors as other set and connected both these sets to the output of L298N Module.
Code
The Arduino code for Bluetooth Controlled Robot project is given below.
Android App
If you remember the HC-05 Bluetooth Module tutorial, I have used a simple app called Bluetooth Controller, which is installed on an Android Phone to communicate with the Bluetooth Module. In this project, I have used the same app with modifications in the data to be transmitted.
The above given Arduino code is written to synchronize with the data configured in the Bluetooth Controller App. NOTE: The link to download the Bluetooth Controller App is provided in the HC-05 Bluetooth Module tutorial. To download the app, please refer to that tutorial.
Working
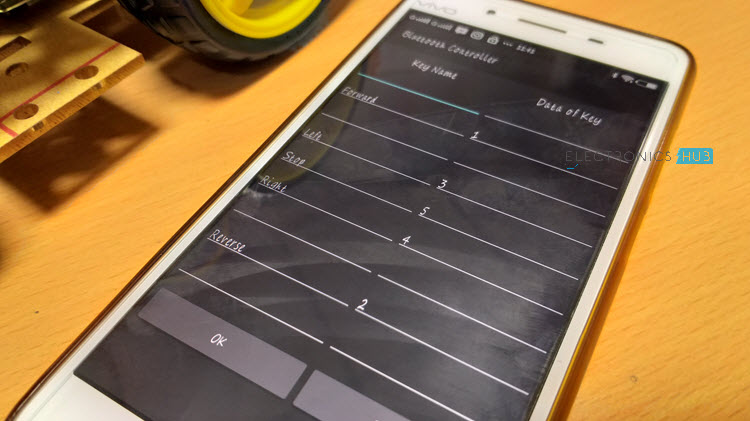
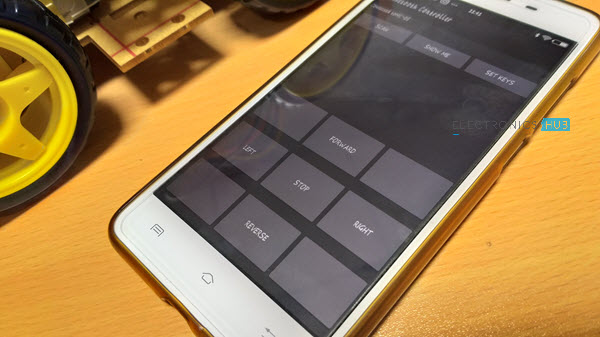
Assemble the robot, make the necessary connections and upload the code to Arduino. If you understood the HC-05 Bluetooth Module tutorial, then understanding the Bluetooth Controlled Robot project is very easy. First, in the Android App, I have used 5 keys as Forward, Reverse, Left, Right and Stop. The corresponding data associated with each key is as follows:
Forward – 1 Reverse – 2 Left – 3 Right – 4 Stop – 5
When a key is pressed, the corresponding data is transmitted to the Bluetooth Module from the Phone over Bluetooth Communication.
In the Arduino code, the Arduino UNO receives any of this data from the Bluetooth Module (as per the key pressed) and performs a simple switch case operation, where each case associated with appropriate instructions to the Motor Driver Input Pins. For example, if ‘Forward’ key is pressed in the Android Phone, then ‘1’ is transmitted. Arduino will then make IN1 and IN3 as HIGH and IN2 and IN4 as LOW to achieve a forward motion. Similarly, other keys correspond to appropriate setting of IN1 – IN4 pins.
Limitations
As the range of the Bluetooth Communication is limited (a maximum of 10 meters for class 2 devices for example) the control range of Bluetooth Controlled Robot is also limited. Make sure that sufficient power is provided to all the modules especially the Bluetooth Module. If the power is not sufficient, even though the Bluetooth Module powers on, it cannot transmit data or cannot be paired with other Bluetooth devices.
Applications
Low range Mobile Surveillance Devices Military Applications (no human intervention) Assistive devices (like wheelchairs) Home automation
Can I speed up the response of the robot? Thanks I hope this is help full for you… Comment * Name * Email * Website
Δ
![]()
![]()
![]()

![]()
![]()

